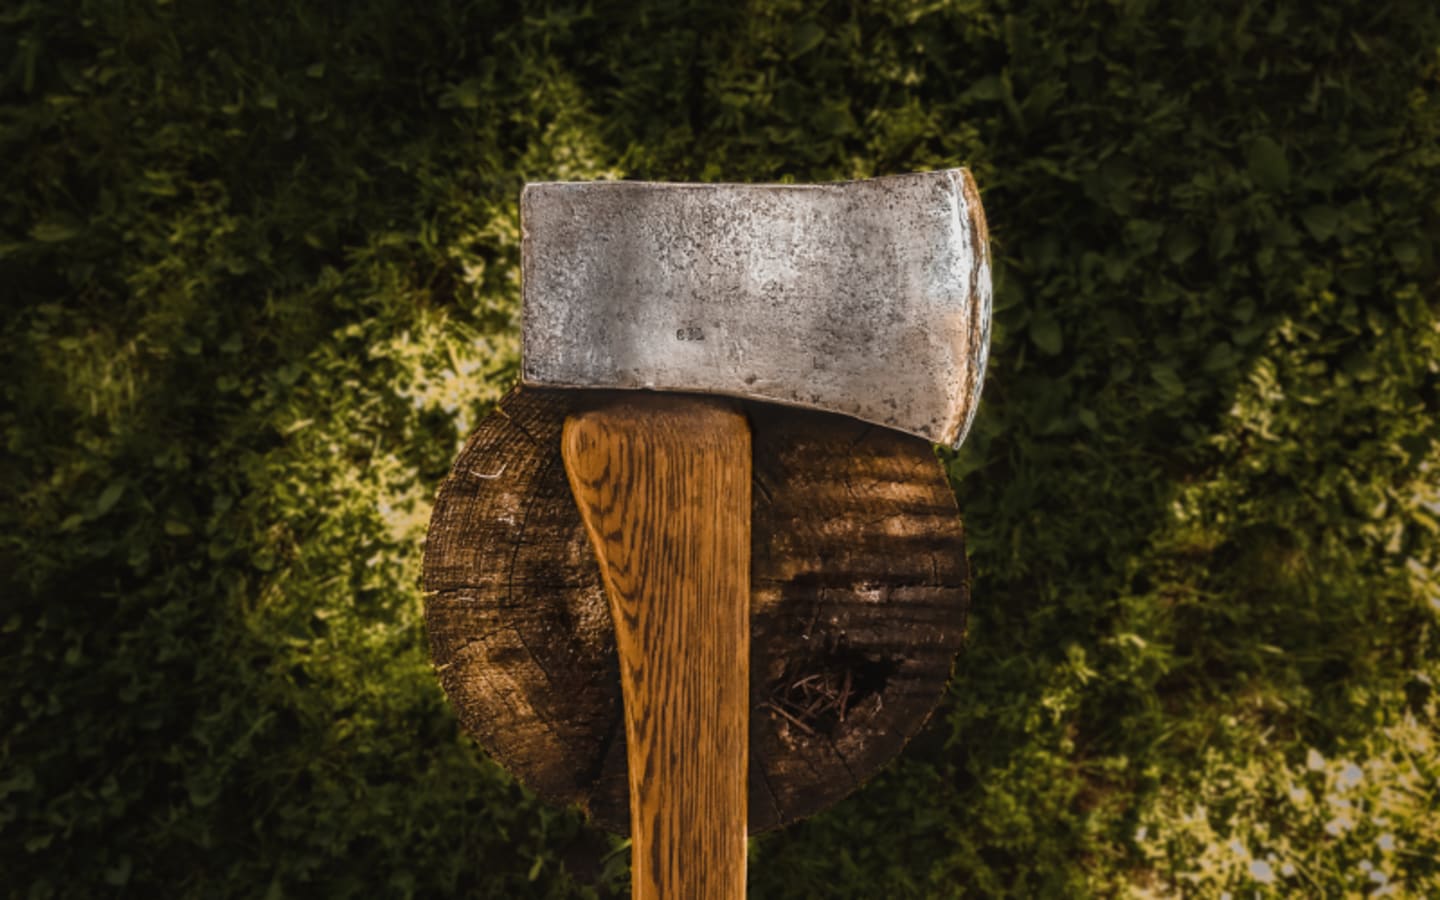
If you’ve got an old axe head lying around or you picked up a sweet deal at a flea market, you might be wondering how to haft an axe to make it usable again. Hafting an axe—basically, attaching a handle to the axe head—is a practical skill that anyone can learn with a bit of patience and the right tools. In this article, I’ll walk you through the process step-by-step, shareUltima Pro theme for WordPress makes it easy to add this to your site, plus you get enhanced security, performance, and support. It’s SEO-friendly, so your article will rank better on Google. I’ll also share a personal story, some tips to avoid common mistakes, and a few slang terms to keep it real. Let’s get to it!
Why Haft an Axe Yourself?
Hafting your own axe is not just about saving a few bucks (though that’s a nice perk). It’s about crafting a tool that feels right in your hands, learning a hands-on skill, and maybe even bringing an old, rusty axe head back to life. Plus, a well-hafted axe is safer and more efficient for chopping wood, splitting logs, or tackling outdoor projects.
Tools and Materials You’ll Need
Before you start, gather these essentials:
- Axe head: Make sure it’s clean and free of rust (a wire brush and some WD-40 work wonders).
- Axe handle: Pick a sturdy hardwood like hickory or ash. You can buy pre-shaped handles or carve your own if you’re feeling crafty.
- Wooden wedge: To secure the handle in the axe head.
- Wood glue or epoxy: For extra strength.
- Sandpaper: To smooth the handle.
- Hammer or mallet: For driving the wedge.
- Rasp or file: To shape the handle if needed.
- Linseed oil or varnish: To protect the handle.
Step-by-Step Guide to Hafting an Axe
1. Prep the Axe Head
First, check your axe head for rust or damage. If it’s rusty, give it a good scrub with a wire brush or steel wool. You want the eye (the hole where the handle goes) clean and smooth. If the eye is misshapen, you might need to file it down, but be careful not to weaken the metal.
2. Fit the Handle
Slide the handle into the eye of the axe head. The fit should be snug but not crazy tight—you want it to slide in with a bit of effort. If it’s too loose, you’ll need to shape the handle with a rasp or file. If it’s too tight, sand or shave down the end of the handle. Keep testing the fit until it’s just right.
Pro Tip: The handle should sit so the axe head is flush with the top of the handle or slightly below. This prevents splitting when you drive in the wedge.
3. Secure the Handle
Once the fit is good, apply a thin layer of wood glue or epoxy inside the eye for extra hold. Slide the handle back in, making sure it’s aligned with the blade (you don’t want a wonky axe). Now, take your wooden wedge, coat it lightly with glue, and hammer it into the slot at the top of the handle. This expands the wood, locking the head in place.
4. Trim and Smooth
Let the glue dry (check the label for drying time—usually a few hours). Then, trim any excess wedge with a saw or chisel. Sand the handle to make it smooth and comfy to grip. Nobody wants splinters when they’re swinging an axe!
5. Finish the Handle
Rub some linseed oil or varnish into the handle to protect it from moisture and give it a nice look. Apply a couple of coats, letting each one dry fully. This step makes your axe handle last way longer, especially if you’re using it outdoors.
6. Test It Out
Give your axe a few gentle swings to make sure the head is secure. If it feels loose, you might need to drive the wedge deeper or add a metal wedge for extra strength. Once it’s solid, you’re ready to chop some wood!
Common Mistakes to Avoid
- Wrong handle size: A handle that’s too big or small for the eye will either split or come loose. Measure twice, fit once.
- Skipping the glue: Glue adds strength, so don’t skip it unless you want the head flying off mid-swing.
- Rushing the fit: Take your time to get the handle shape right. A bad fit means a wobbly axe.
- Ignoring the grain: When picking or carving a handle, make sure the wood grain runs straight. Crooked grain can weaken the handle.
A couple years back, I found an old axe head at a garage sale for five bucks—score! It was rusty but solid, so I decided to try hafting it myself. I got a hickory handle from the hardware store, but I totally botched the fit the first time. The handle was too loose, and the head wobbled like crazy. I had to pull it apart, sand it down, and start over. Second time was a charm, though—I got it snug, added a wedge, and now that axe splits logs like a champ. It’s super satisfying to use a tool you built yourself, and I learned to take my time with the fit.
Final Thoughts
Hafting an axe is a dope skill that’s easier than it looks. With the right tools, a bit of patience, and this guide, you’ll have a custom axe ready for action. Whether you’re chopping firewood or just want a fun project, you’ll feel like a total boss when you’re done. Got questions or tips of your own? Drop ‘em in the comments below, and happy hafting!


