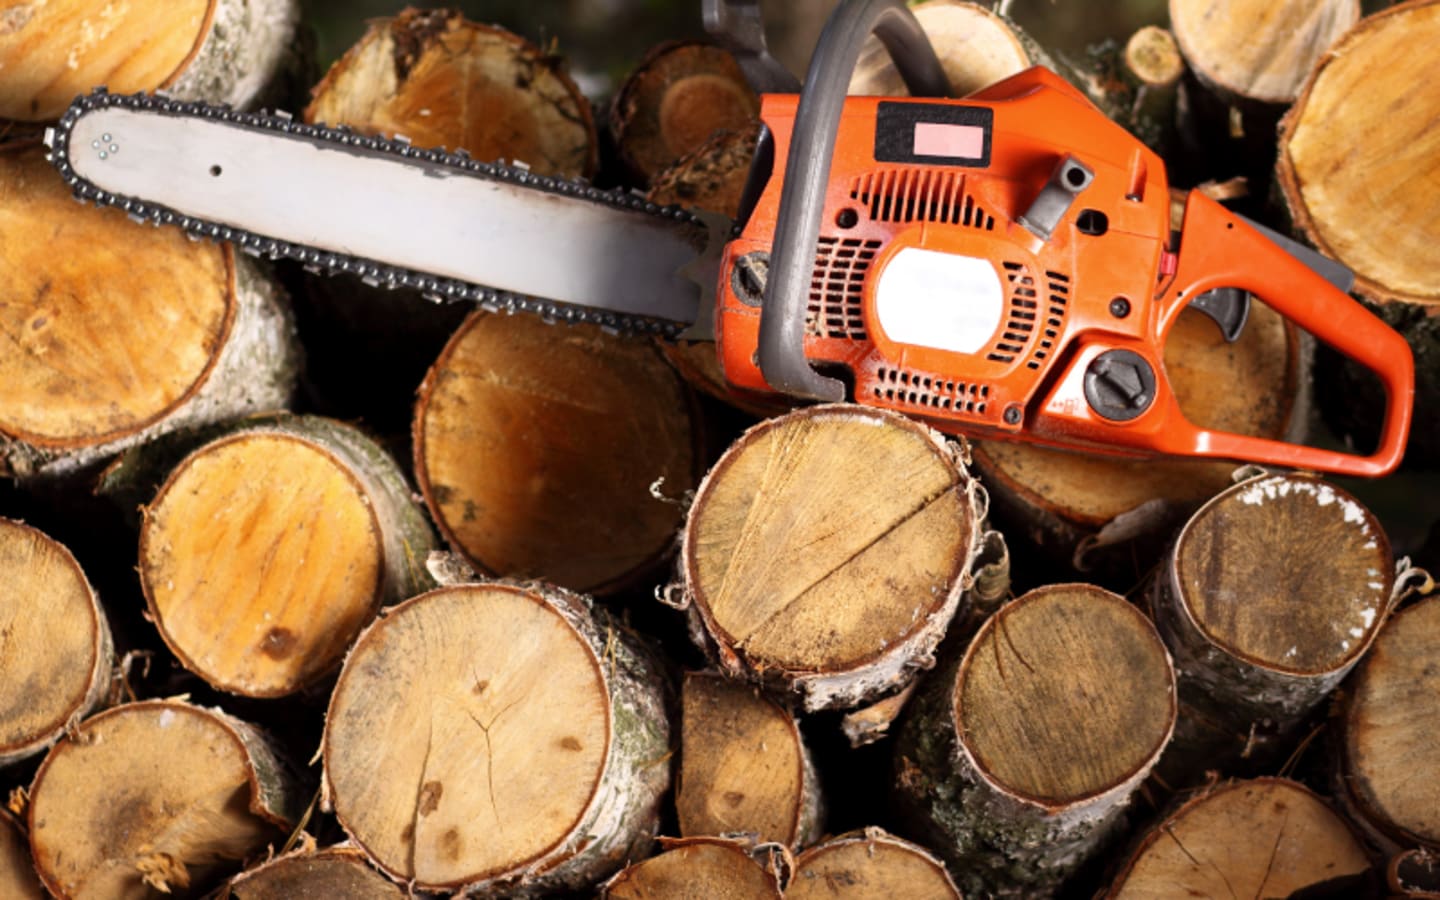
Building a backyard sawmill is a game-changer if you’re into woodworking, homesteading, or just want to save some cash on lumber. It’s a practical way to turn logs into usable boards right at home. Plus, it’s kinda satisfying to see a tree you felled become a stack of planks for your next project. In this guide, I’ll walk you through the steps to build a simple, affordable sawmill, toss in some tips, and share a story from when I built my own. Let’s dive in!
Why Build a Backyard Sawmill?
Before we get to the nitty-gritty, let’s talk about why this is worth your time:
- Save Money: Buying lumber ain’t cheap. Milling your own can cut costs big time.
- Use Local Trees: Got fallen trees or access to cheap logs? Turn ‘em into boards.
- Custom Cuts: Need odd sizes? A sawmill lets you cut exactly what you want.
- Sustainability: Repurposing local wood is eco-friendly and keeps things green.
What You’ll Need
Building a sawmill doesn’t require a ton of fancy gear, but you’ll need some basics. Here’s the rundown:
- Chainsaw: A powerful one (50cc or more) with a sharp chain.
- Guide Rails: Aluminum or steel tracks to keep your cuts straight.
- Frame Materials: 2x4s, plywood, or metal for the base and carriage.
- Screws and Bolts: For assembling the frame.
- Measuring Tools: Tape measure, level, and a square.
- Safety Gear: Gloves, goggles, ear protection, and steel-toe boots.
- Optional: A winch or pulley system for moving heavy logs.
Pro tip: Check local hardware stores or online marketplaces for used tools to save some dough.
Step-by-Step Guide to Building Your Sawmill
1. Plan Your Design
First things first, decide what kind of sawmill you want. A chainsaw mill is the easiest for beginners. It’s basically a frame that guides your chainsaw to make straight cuts. You can go portable or build a stationary setup. I went with a portable one ‘cause I like moving it around my property.
Sketch out your design or find free plans online. Keep it simple—think a sturdy frame to hold the log and rails for the chainsaw to slide along.
2. Build the Frame
The frame is the backbone of your sawmill. Use 2x4s or metal if you’re feeling fancy. Make a rectangular base that’s long enough for the logs you’ll cut (6-8 feet is good for most). Add cross supports for stability.
For the carriage (the part that holds the chainsaw), build a smaller frame that slides along the rails. Attach wheels or sliders to make it move smooth. I used some old skateboard wheels, and they worked like a charm.
3. Set Up the Guide Rails
Your cuts need to be straight, so the rails are key. Aluminum ladder sections work great ‘cause they’re lightweight and rigid. Bolt ‘em to the frame, making sure they’re level. Use a spirit level here—crooked rails mean crooked boards.
4. Mount the Chainsaw
Attach your chainsaw to the carriage. You can buy a chainsaw mill attachment or make one with metal brackets. The goal is to keep the saw secure but adjustable so you can set the cut depth. Double-check that it slides easily along the rails.
5. Test and Tweak
Before you start slicing logs, do a dry run. Slide the carriage along the rails and make sure everything’s stable. Adjust as needed. I learned this the hard way—my first setup wobbled like a drunk uncle at a wedding, and I had to reinforce the frame.
6. Start Milling
Now for the fun part! Place a log on the frame and secure it with clamps or wedges. Adjust the chainsaw to your desired board thickness (start with 1-2 inches). Fire up the saw and slowly push the carriage along the rails. Go steady—rushing leads to uneven cuts.
Stack your boards and let ‘em dry for a few weeks before using. Wet wood warps, and nobody wants that.
Safety First, Y’all
Sawing logs ain’t no joke. Wear your safety gear, keep your hands clear of the blade, and never work alone if you can help it. A chainsaw can mess you up quick, so stay sharp.
A couple years back, a big oak came down in my yard after a storm. I hated the idea of it going to waste, so I decided to build a sawmill. I cobbled together a setup using scrap wood and an old ladder. First few cuts were wonky, but man, when I got that first clean plank, I was hooked. Now I mill lumber for furniture and even made a picnic table for my kids. It’s hard work, but there’s something badass about turning a tree into something useful.
Tips for Success
- Sharpen Your Chain: A dull chain makes cutting a nightmare. Keep it sharp for clean cuts.
- Start Small: Practice on smaller logs to get the hang of it.
- Dry Properly: Stack boards with spacers and cover ‘em to prevent warping.
- Check Local Laws: Some places have rules about cutting trees, so do your homework.
- Join Forums: Online homesteading or woodworking groups are gold for tips and tricks.
Common Mistakes to Avoid
- Skipping Safety Gear: Don’t be that guy who loses a finger.
- Poor Measurements: Double-check your setup to avoid uneven boards.
- Rushing: Take your time, especially on your first few cuts.
- Using Wet Wood: Patience pays off—let your boards dry.
Wrap-Up
Building a backyard sawmill is a dope way to take control of your lumber supply. With some basic tools, a bit of elbow grease, and a willingness to learn, you can be milling your own boards in no time. It’s rewarding, saves money, and lets you flex your DIY skills. So grab that chainsaw, hit the hardware store, and get to work. You got this!
Got questions or wanna share your sawmill build? Drop a comment below or hit up a woodworking forum. Happy milling!
Show in sidebar


