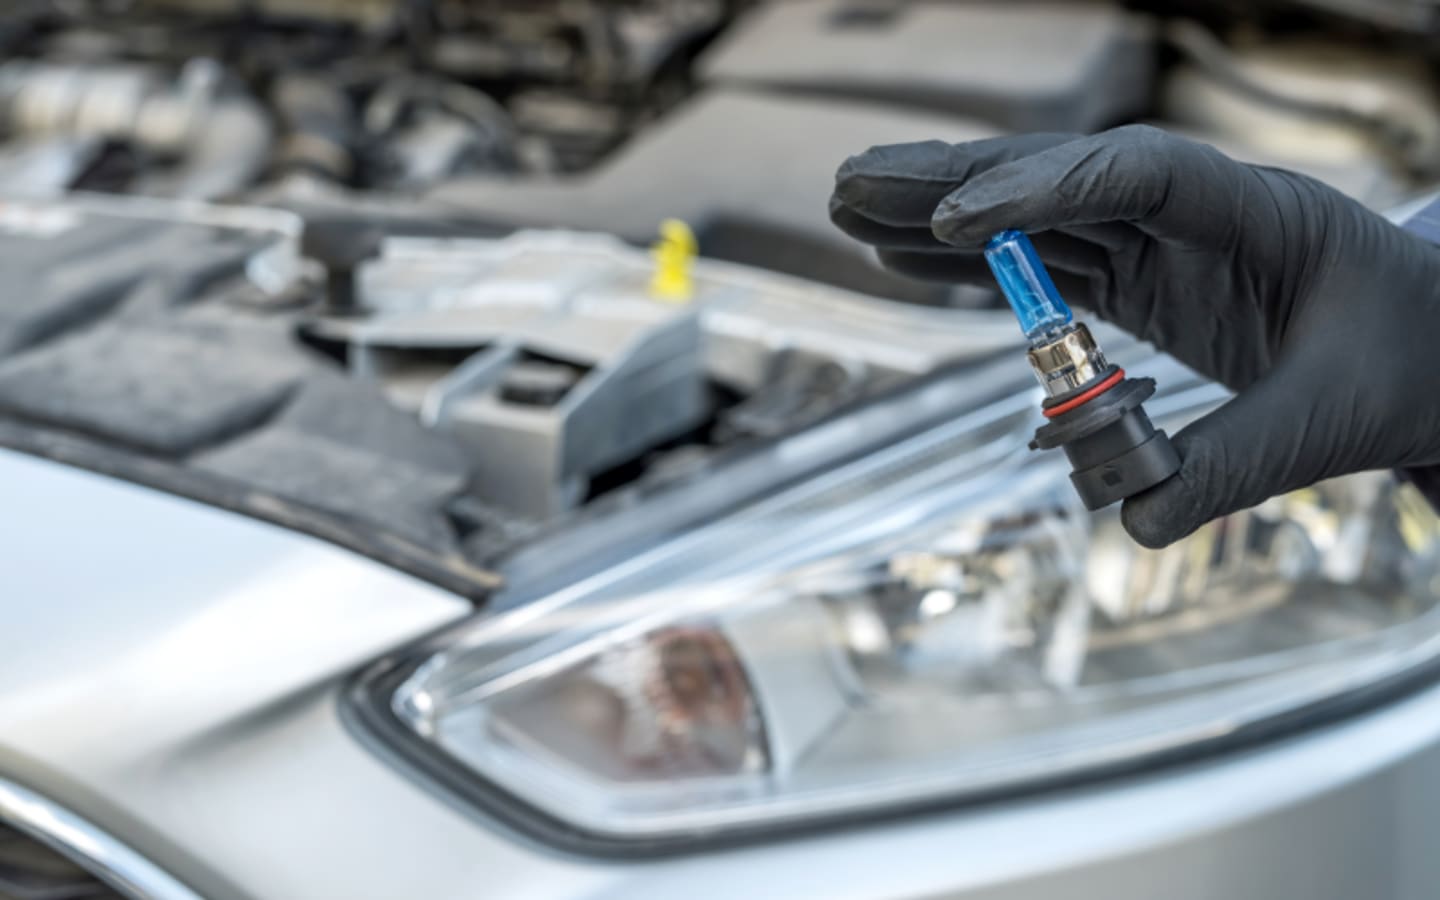
Retrofitting LED lights could be the solution for you if you're sick of squinting at dim lights or putting up with that antiquated yellowish glare. Compared to those outdated bulbs, LEDs are brilliant, energy-efficient, and, to be honest, they just look awesome. Plus, upgrading your lighting setup can make a huge difference in visibility—whether it’s for your car, your crib, or even your workspace. Here’s a simple guide to get you started on retrofitting LED lights like a pro.
Why Go LED Anyway?
First off, let’s talk about why LEDs are worth the hype. They last way longer than regular bulbs—like, we’re talking years, not months. They also use less power, so you’re saving some cash on your electric bill or gas if you’re upgrading your ride. And the visibility? Man, it’s night and day (pun intended). LEDs throw out a crisp, white light that makes everything pop, whether you’re driving down a sketchy road or trying to find that one tiny screw you dropped under your desk.
Step 1: Pick the Right LED Kit
Taking any old LED and calling it a day is not an option. It must match the fixtures in your house, the headlights on your automobile, or anything else you're retrofitting. Verify the type and size of the lightbulb you currently have (such as E26 for household items or H4 or 9006 for automobiles). Most LED kits will straight-up tell you what they’re compatible with. If you’re clueless, hit up Google or even peek at some X posts from car nerds or DIY folks—they usually drop solid recs.
Pro tip: Go for LEDs with a color temperature around 5000K to 6000K. That’s the sweet spot for bright, white light without blinding everyone else.
Step 2: Gather Your Tools
A few basic skills will save you a lot of trouble, but a fancy toolbox is not necessary. If you're working on automobile lights, get a socket wrench, pliers, and a screwdriver. For home fixtures, you might just need your hands and a ladder. Oh, and don’t skip on safety—turn off the power or disconnect the battery before you start messing around. I learned that the hard way when I got a lil’ zap trying to swap out my kitchen light. Not fun.
Step 3: Rip Out the Old Stuff
Out with the old, in with the new, right? For car headlights, pop the hood and unscrew the old bulb—usually it’s just a clip or a twist. For home lights, unscrew the fixture or bulb and yank it out. If it’s stuck, don’t force it; wiggle it a bit or check for hidden screws. Patience is key here—trust me, I busted a headlight cover once rushing it, and that was a dumb $50 mistake.
Step 4: Install the LED
Now comes the fun part. Slide that shiny new LED into place. For cars, it might have a base or adapter—make sure it clicks in snug. For home lights, screw it in or attach it to the fixture. Some kits come with extra wiring or ballasts (those little boxes that control power).Don't wing it; do as instructed. Verify the connections again if the light is low or flickers. Nobody has time for shoddy installs, does anyone?
Step 5: Test It Out
Watch the magic happen by turning the key or flipping the switch. You've hit the jackpot if it's dazzlingly clear and bright. If not, tweak the angle (especially for headlights) or make sure you didn’t get a dud. I retrofitted my truck’s headlights last year, and dude, driving at night went from sketchy to straight-up chill. I could finally see deer creeping around instead of playing bumper roulette.
Bonus Tips for Max Visibility
- Clean Your Lenses: If you’re doing headlights, scrub those foggy lenses with some toothpaste or a cheap polishing kit. Makes a big diff.
- Aim Right: For cars, park facing a wall and adjust the beam so it’s not blasting into people’s faces.
- Dimmer Switches: At home, toss in a dimmer if you want control—LEDs play nice with those.
Wrap-Up
Retrofitting LED lights isn’t rocket science, and the payoff is legit. Better visibility, lower bills, and a slick modern vibe? Count me in. Whether you’re upgrading your whip or your pad, just take it step-by-step, and you’ll be flexing that crisp LED glow in no time. Got questions? Hit me up—I’m no expert, but I’ve messed up enough to know what works!


